
Beal - Contingency Plans
If something goes wrong during the exam, how can you still pass?
The dreaded feeling when you realise something has gone wrong on the day of the exam. It may be you have miscalculated your time, taken too long on Requirement 1 or had a problem generating your appendix 2. Whatever the reason, you can guarantee it will be Requirement 3 and the Executive Summary which suffers the most.
The first thing we advise students is to not panic. Secondly, you need to remember to consider the paper as a whole exam and not separate requirements. This means with a clear head and a good strategy, you can still generate sufficient passing grades in each element of the examination and pass.
The first strategy is to try and not need to use your contingency strategies and to avoid the common traps! This means, cutting down your appendix 1 so that you cannot spend more than 15 minutes and certainly never over 20 minutes.
You have your layout ready for Requirement 1 so that you do not spend too long on one part of the question - this should be done using planning sheets.
Your do not delete and repeat Appendix 2 - when students wrote their answers, we could almost guarantee 10% will cross their appendix 2 out and start again - normally for a small mistake which didn't really cost them any marks. Don't fall into this trap!
Your aim has to be to give yourself sufficient time to do a good Requirement 3. There is no point in getting 9 passing grades in Requirement 1 to then only score 4 in Requirement 3.
Contingency Strategies
This could go wrong with the appendix, in that you spend too long on it. Firstly, you still have time to practice ahead of the exam. Secondly, remember you don’t need every number you talk about to be in the appendix in order to gain credit for the numbers.
However, if this does not stop you going over the time limit, how do you get back on track?
1. Medium to High Risk Contingency Strategy: Prepared Template
You can use our R1 wording to potentially short cut part of the planning and also the thinking time when you come to write up. We don’t know the paper, it could be very different to what we have written especially if the examiner gets you to focus on one of the divisions. However, it does include the typical types of points that normally do well on the key, BUT and it’s a huge BUT, it does not include anything new the examiner will present you with. You need to bring in points from the exam and tailor our suggested proforma significantly. Our proforma, also doesn’t cover the Twist so don’t forget about this! Click here to access our pre-prepared Requirement 1
2. High Risk Contingency Strategy: Sacrificing The Twist
You could sacrifice the two boxes on the key normally reserved for the Twist. The risk is you are effectively trying to achieve 6 passing grades out of 9 available boxes. If you take this approach, YOU MUST be good at conclusions and recommendations and also be consistently achieving wider business issues.
Be aware there maybe some wider business issues that become apparent in the exam paper that we cannot predict and you may need to spot.
If you do this approach, be prepared to Conclude on the Twist (with a number, even if the number is a real back of an envelope calculation or an educated guess) and also to do some recommendations on the Twist. You should get a feel for the Twist from reading the exam, so even if you do not do the analysis, you should still be able to draw some commercial and relevant recommendations.
As a reminder with R1, target the easier boxes. These are:
A&UI - Box 1 - appendix layout / completeness
A&UI - Box 2 - appendix numbers
A&UI - Box 3 - wider issues
SPS - Box 4 - Revenue MS, AD, SR / Trends
SPS - Box 5 - GP, OP, Cash flows
Conclusions - Box 10
Recommendations - Box 11
Contingency Strategies
If you have read elsewhere that a good contingency approach is to do your assumptions, conclusions & recs and discussion before your calculations, we highly recommend you ignore this advice.
The numbers on requirement 2 are worth 3 boxes and you can often gain all three from the appendix with the way the key is marked. If you fail to do the numbers, you are limiting yourself to needing 6 passing grades out of 8 available, which even top passing students would struggle to achieve.
1. Medium Risk Contingency Strategy: Keep Your Discussion Part Brief and Sacrifice the AJ
Instead of our normal 2 to 3 sentence paragraph approach, do 1 to 2 sentence paragraphs. Make sure you do a range of points rather than in depth discussion, in order to maximise your chances of gaining the SPS. We are aiming to achieve Box 6 at the expense of Box 9 on the key, The rationale is if you are behind time, there is little point in failing Requirement 3 due to a lack of time. Equally there is little point in getting an IC in SPS and in AJ as this is worth a lot less than one SC and an ID. You must be careful your report still reads like structured paragraphs and not as bullet points.
2. Medium to High Risk: Sacrifice Ethics / Other Request
R2 has recently brought in an ethical issue or a discussion on areas such as suitability of the appraisal model for the calculation or a discussion on the contractual terms.
You could sacrifice this part without failing R2 if the rest of your answer is good enough. We rank this approach as medium risk if there is only one box assigned to it in the key. It becomes high risk if there are two boxes on the key.
Unfortunately, we cannot tell before the key is published! If you do sacrifice this element, you can still conclude on it (with figure if appropriate although it’s often not needed in R2) and you can definitely generate some recommendations. ALWAYS bring it briefly into your R2 Executive Summary even if you haven’t done the analysis.
3. High Risk Contingency Plan: Range Instead of Depth on Assumptions.
We would normally label this as a medium risk by doing a range of assumptions and sacrificing the development (AJ) of the point. However, we have seen students struggling quite a bit with assumptions in mocks we have written and also in mocks that some of our experienced markers mark for other providers.
Remember to challenge the big figures first and move down to the figures that have little impact e.g circulation, effective price, contributors and move down to distribution costs etc.
You can make a quick point in the assumptions in terms of why you have concern e.g the growth in circulation looks high compared to 2020's growth. Once you have done this you move to the next assumption.
Whilst we have given you 3 potential strategies, we recommend you only use one of these if requirement and certainly NOT all three. Choose the ones that work best in the exam.
As we are effectively sacrificing a number of the AJ boxes with these strategies, you must be able to generate good conclusions and recommendations. Please see our blog on these and ensure you are prepared.
You are targeting the following boxes on R2 as pass boxes:
A&UI - Box 1 - appendix layout / completeness
A&UI - Box 2 - appendix numbers
SPS - Box 4 - Appendix / comparing to current financial results / sensitivity
SPS - Box 5 - Assumptions
Conclusions - Box 10
Recommendations - Box 11
If possible, also aim for A&UI Box 3 (Wider Business Issues)
Contingency Strategies
Our advice regarding the calculations also applies to Requirement 3, in that we have seen calculations expand to cover 3 boxes in the last 2 exams. Without doubt, there will be 2 boxes for the calculations.
Requirement 3 is unique in that a larger number of the points available on the key are generated from the information the examiner gives you on the day. This makes it more difficult to prepare for (R1 being the most straight forward), but it does mean you can, if you’re running out of time, really scale back the planning. This is where our contingency plans start:
1. Medium to High Risk Contingency Strategy - Scale Back Planning
If you have done our mocks, there are likely to be some general themes that apply to the real exam - so this could help to jolt your memory. If you haven’t, this approach still applies. You must question every sentence the examiner is giving you and try your best to generate as many financial, operational and strategic points as possible. Why has he given me this information? How will it impact the business financially, will it make the operations more difficult or does it help achieve or move Scour further away from its Strategic objectives.
We do recommend you rehearse this approach and you could try it in one of our mocks ahead of the exam and see how much you can get done in 50 minutes (including appendix). The benefit is if the points are typed into your answer, you will get marks for it whilst if it is on your planning sheet and you run out of time, there is no credit available.
2. Medium Risk Contingency Strategy: Ethics Shortcut
We don’t want you to completely ignore ethical / business trust issues as these do get taken into account for borderline students.
However, they are often harder to spot (especially based on recent exams) and students generally are quite poor at them.
Therefore, you are unlikely to lose significant points compared to students who have time to attempt these.
The short cut method is that you briefly describe the issue, the parties involved and then do two recommendations on each ethical issue you spot.
You will also conclude on the ethical point under your main conclusion heading.
This approach can be done very quickly, it will get you an ID or IC in SPS. However, ot may just get you an SC in AJ which is normally where the ethical and business trust recommendations are marked.
3. High Risk Contingency Strategy: Concentrate on S,F,O points only and ignore ethics
If you are so under more severe time pressure, you may need to take this approach and concentrate on the S,F,O points. It's higher risk as you are deliberately dropping the ethics and business trust section.
You MUST develop as many F,S,O points you have time for as it is not always too clear whether the point you make is in SPS or AJ You also MUST ensure you have a range of Financial, Strategic and Operational points too.
As you are ignoring ethics, we still always recommend you conclude on ethics as this will help you gain the conclusions box.
We also suggest you give a tiny bit of time to put 4 ethical recommendations if you can to avoid an N/A in the AJ box! You can recommend even if you have no no real analysis of the ethical issues.
The boxes we are aiming for in Requirement 3 as the easier ones are:
A&UI - Box 1 - appendix layout / completeness
A&UI - Box 2 - appendix numbers
SPS - Box 4 - Appendix / assumptions (key 2) / comparing to current results and other financial considerations
SPS - Box 5 - Strategic & Operational
Conclusions - Box 10
Recommendations - Box 11
Try and fit in as many wider issues as you can, but clearly if you are running out of time it is much better to ensure you always include your conclusions and recommendations.
Contingency Strategies
The Great Copy & Paste Debate
We know students will use the copy / paste work around in order to produce their Executive Summary and we also know the Examiners are keep to penalise students who adopt this approach. The easy way to tell this approach has been adopted is that students are suddenly starting to have really long Conclusions & Recommendations and also there are huge similarities in the information in both the C&R and the ES.
If you are running out of time, we certainly believe the correct use of copy and paste will help you. However, we believe the less risky strategy is to:
We still believe the Examiners will find a way for you to fail the ES if you do a complete copy and paste for your Executive Summary on all the three requirements,
Even adopting our approach above, we know that some of you will still struggle for time. Therefore, our higher risk strategies are:
1. High Risk Contingency Strategy: Drop one of the ES requirements
The hardest ES section to gain full credit on tends to be Requirement 1. However dropping this part is extremely high risk as it means you must stick to your time and complete you ES for Requirement 3. If you drop ES R1 we would rank this as Very High risk just because any further time overruns would result in you failing the ES.
A lower risk would be to drop ES R3, although this is often the easiest part of the ES to pass (mainly because 20% of students fail to complete it!).
The large warning here is that to consider dropping any part of the ES, YOU MUST be confident of achieving Box 1 in the ES marking key. You will always lose the bottom bullet (spelling) due to typos - we have not seen a student get this point in all the mocks. So you HAVE to have the correct headings. We believe, having marked live papers previously, that headings such as Strategic & Operational Context, Context Of Performance, Ethical & Business Trust issues, which are recommended by some tuition providers, will result in you losing the Appropriate headings bullet in the ES. It certainly would have when we marked the live papers!!
If you are unsure, send us a PDF copy of a mock you have taken and we can quickly check (subject to time) whether you are likely to pass the first ES box. Click here to send us an email.
2. Medium Risk Contingency Strategy - Copy / Paste No Editing on ONE part of the ES
Copy / Paste on one of the requirements. Only do a complete copy / paste with no or limited editing on one of the ES Requirements. You may want this to be R3 part as you are likely to get 1 out of the 2 passing grades. Alternatively you may want to do R1 if you are confident you will have time to fully complete the ES for R3.
3. High Risk Contingency Strategy - Copy / Paste No Editing on TWO part of the ES
Copy / Paste on two of the requirements. Only do a complete copy / paste with no or limited editing on one of the ES Requirements. If you decide to do this, we believe you will only gain 1 of the 2 boxes for the two requirements, meaning you must ensure the other requirement is not a copy and paste ESPECIALLY if the first box in the ES is in doubt due to spelling and headings! We would suggest, if you do take this approach, that you do the full copy and paste for R1 and R3. As R1 is the hardest part of the ES to pass and it takes the longest to write, this makes sense and also R3 as this is where time is not your friend!
Please be aware that any contingencies we have discussed to save you time in the exam, should only be attempted if you have fallen behind your time plan and you have concluded you can not gain this time back.
All of our suggestions come with a risk and health warning, but as it is most important to pass ALL Requirements and the Executive Summary in order to ensure you pass the Case Study exam, they are decisions you must make on the day.
Simply running out of time on R3 and having a great R1, R2 and a part finished ES will result in you sitting the Case Study again in November and we really don’t want you to have to do this!!
All Courses, 3. Exam Room Pack
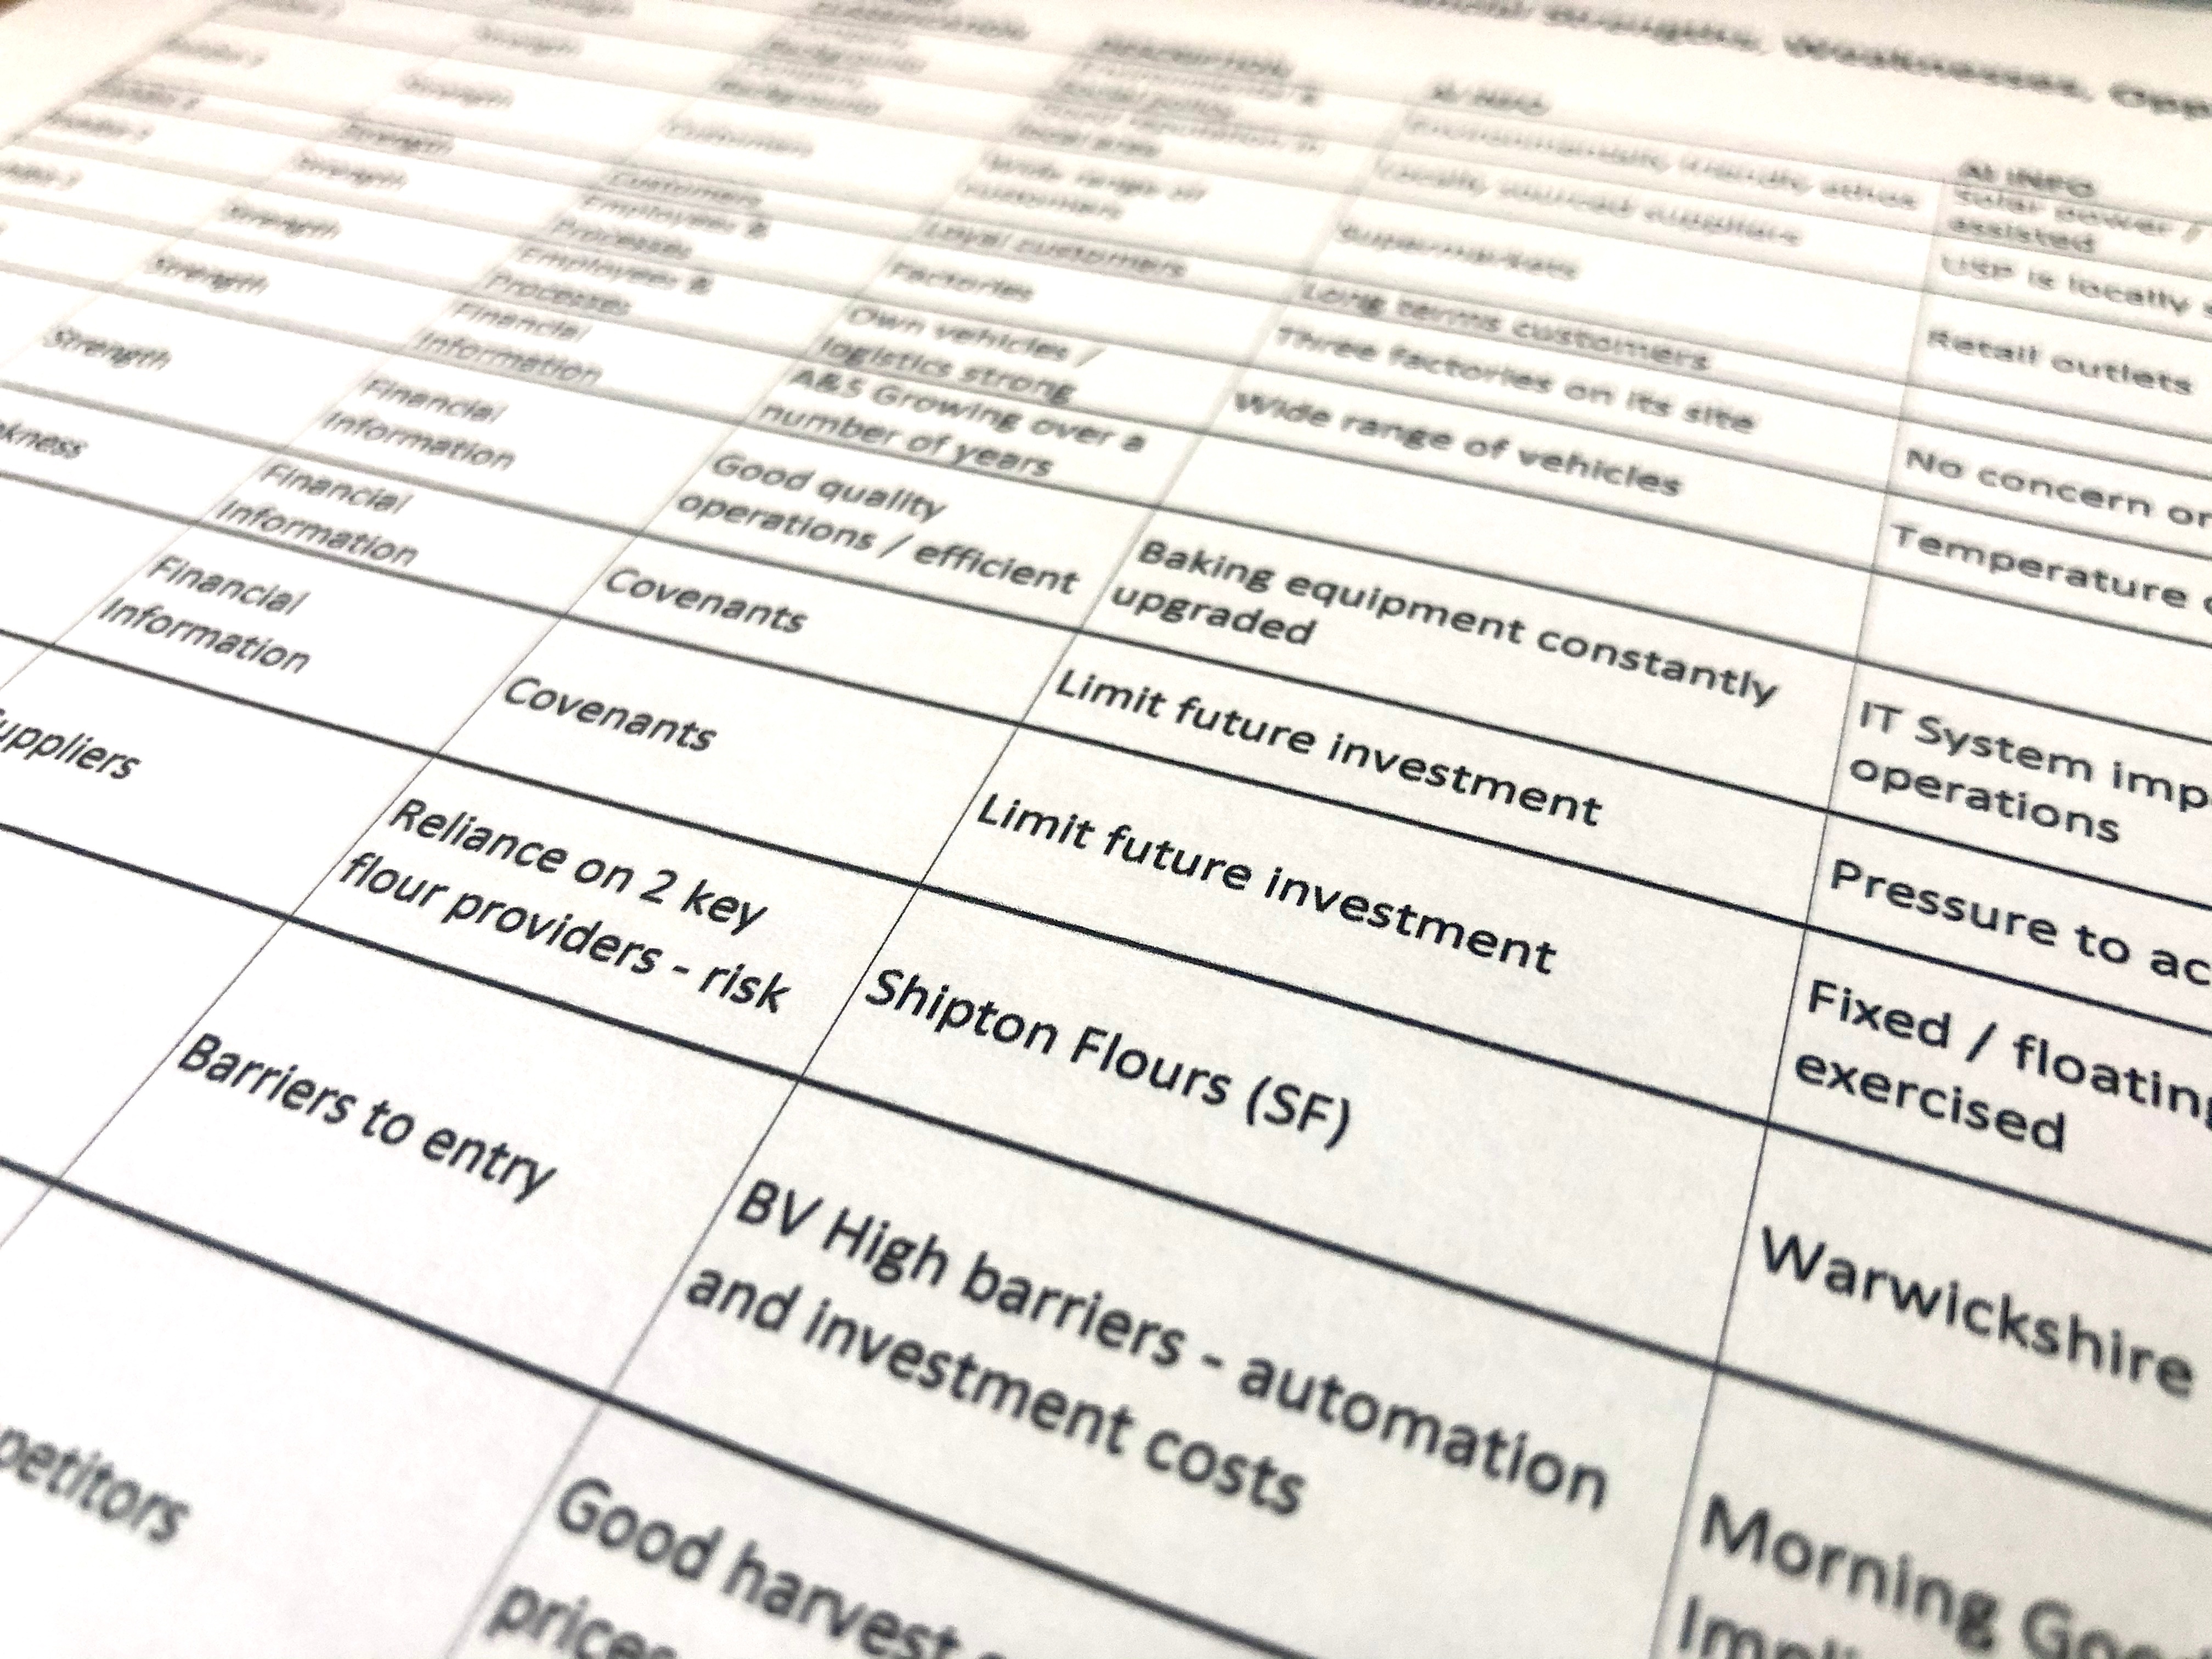
Our Advance Information Pack will provide you with a great insight into the Case Study. The Key Themes will become apparent, how the business generates profit and cash, the key risks and opportunities facing the business.
All Courses, 2. Mock Exams

All Courses, 2. Mock Exams

All Courses, 2. Mock Exams
